Renpy Require a Click Before Continuing
Ren'Py features a GUI system that (we hope) looks attractive out of the box, can be customized somewhat, and can be replaced entirely if necessary. This page explains how to do simple and intermediate levels of GUI customization.
This assumes that you're using a new-style Ren'Py GUI (contained in the gui.rpy file). Older GUIs (that use the screens.rpy file) should be treated as advanced GUI customization for the purposes of this guide.
Simple GUI Customization link
There are a few simple pieces of GUI customization that make sense for all but the simplest visual novels. What these customizations have in common is that they do not require editing gui.rpy. These customizations change the GUI somewhat, but do not drastically change the look of the GUI.
Change Size and Colors link
The easiest thing to change about the GUI is to change the size and color of the GUI. Ren'Py will prompt you to make these choices when you first create a project, but choosing "Change/Update GUI" in the launcher will let you change your choice.
When changing the GUI through the launcher, Ren'Py will prompt if you want to simply change the launcher, or update gui.rpy. Both choices will overwrite most image files, and overwriting gui.rpy will get rid of changes to that file.
As a result, you probably want to do this before any other customization.
Ren'Py will prompt for the default resolution of the project, and then also for the color scheme to use. Once you select those, it will update the GUI to match your choices.
Options.rpy link
There are a couple of variables in options.rpy that are used by the GUI.
-
config.name - A string giving a human-readable name for the game. This is used as the window title, and throughout the GUI wherever the title of the game is needed.
-
gui.show_name - This should be set to False to hide the title and version number from the main menu. (Say, because the title is "baked into" the main menu image.)
-
config.version - A string giving the version of the game. This is presented to the user in various places in the default GUI. It has other uses apart from that, such as error messages or tracebacks.
-
gui.about - Additional text that is added to the about screen. If you want multiple paragraphs of credits, \n\n can be used to separate the paragraphs.
Here's an example of these defines:
define config . name = _ ( 'Old School High School' ) define gui . show_name = True define config . version = "1.0" define gui . about = _ ( "Created by PyTom. \n\n High school backgrounds by Mugenjohncel." ) For convenience, it might make sense to define gui.about using a triple-quoted string, in which case line endings are respected.
define gui . about = _ ( """ \ Created by PyTom. High school backgrounds by Mugenjohncel.""" ) Game and Main Menu Background Images link
The images used by the GUI can be found in the game/gui directory, which can be opened by choosing "Open Directory: gui" from the launcher. The relevant files are:
- gui/main_menu.png
- A file that contains an image that is used in the background of all screens of the main menu.
- gui/game_menu.png
- A file that contains an image that is used in the background of all screens of the game menu.
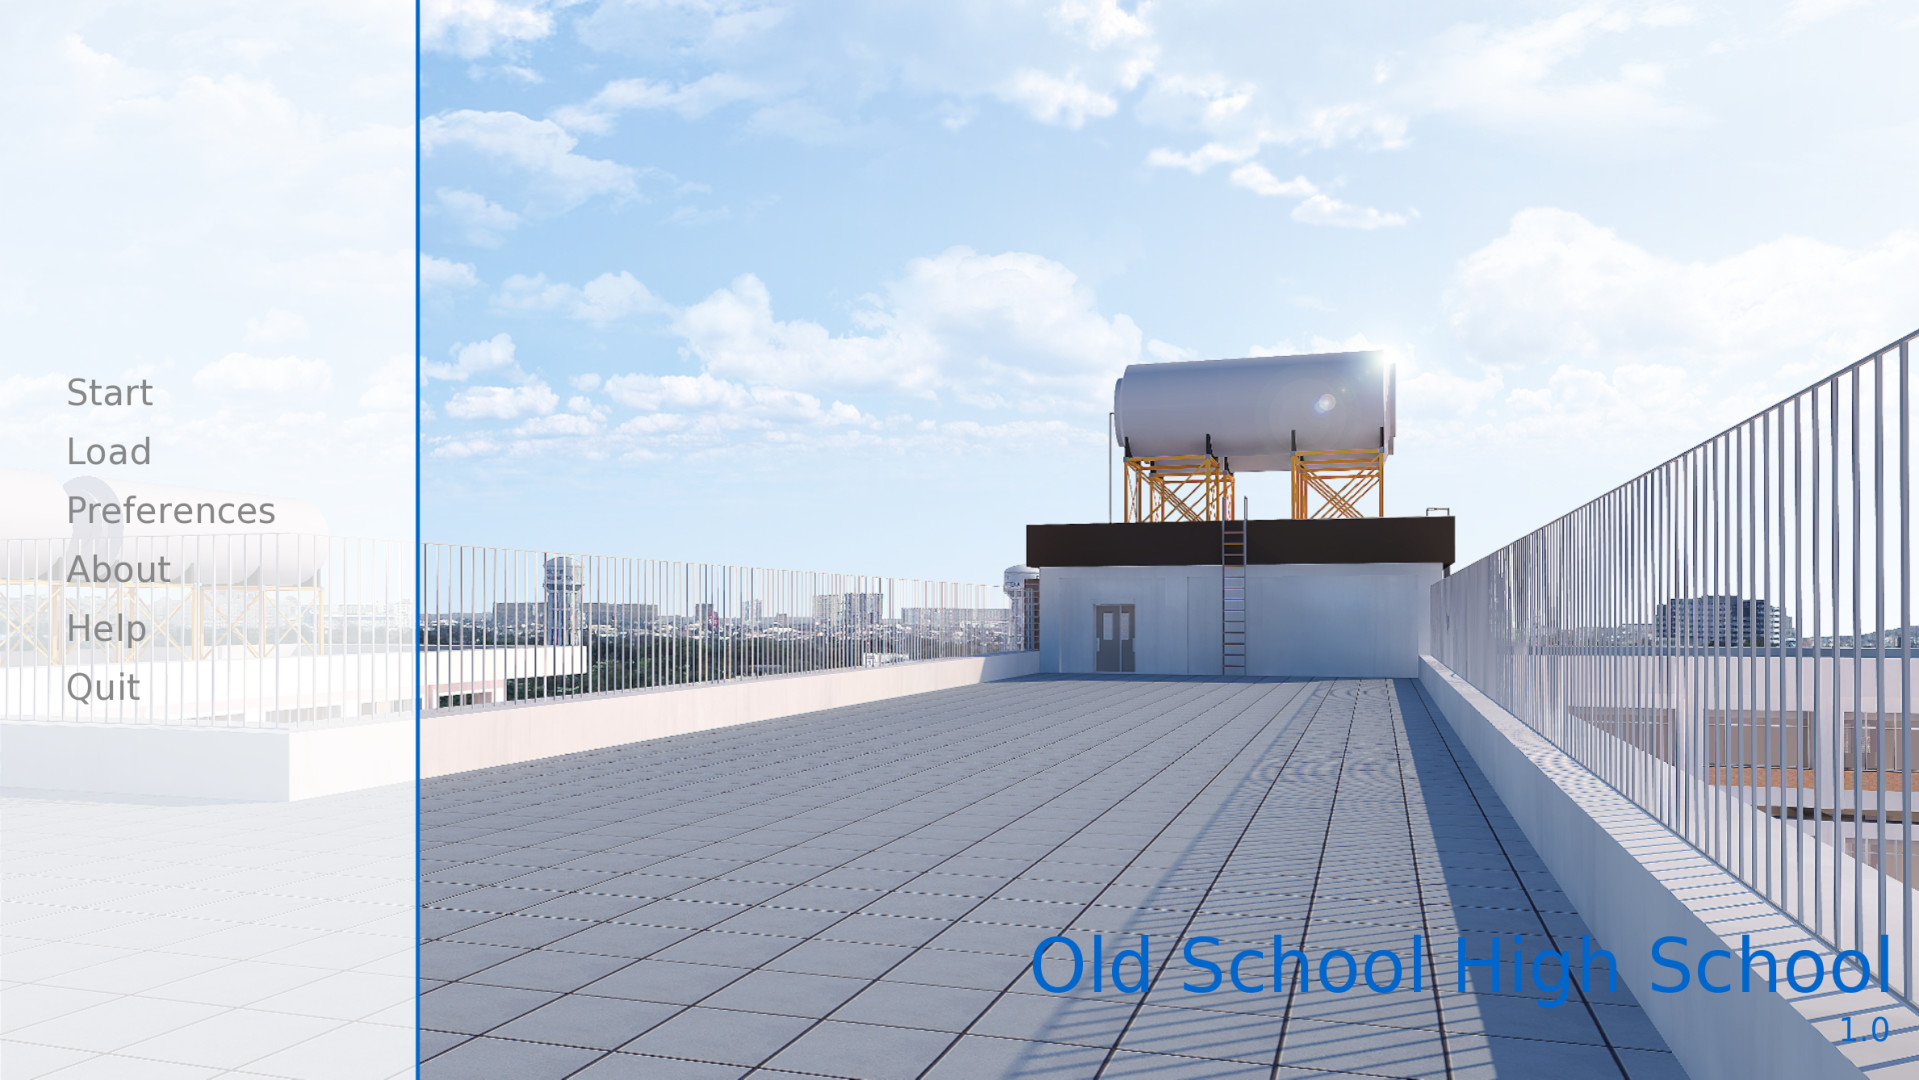
The main menu, with only gui/main_menu.png replaced.
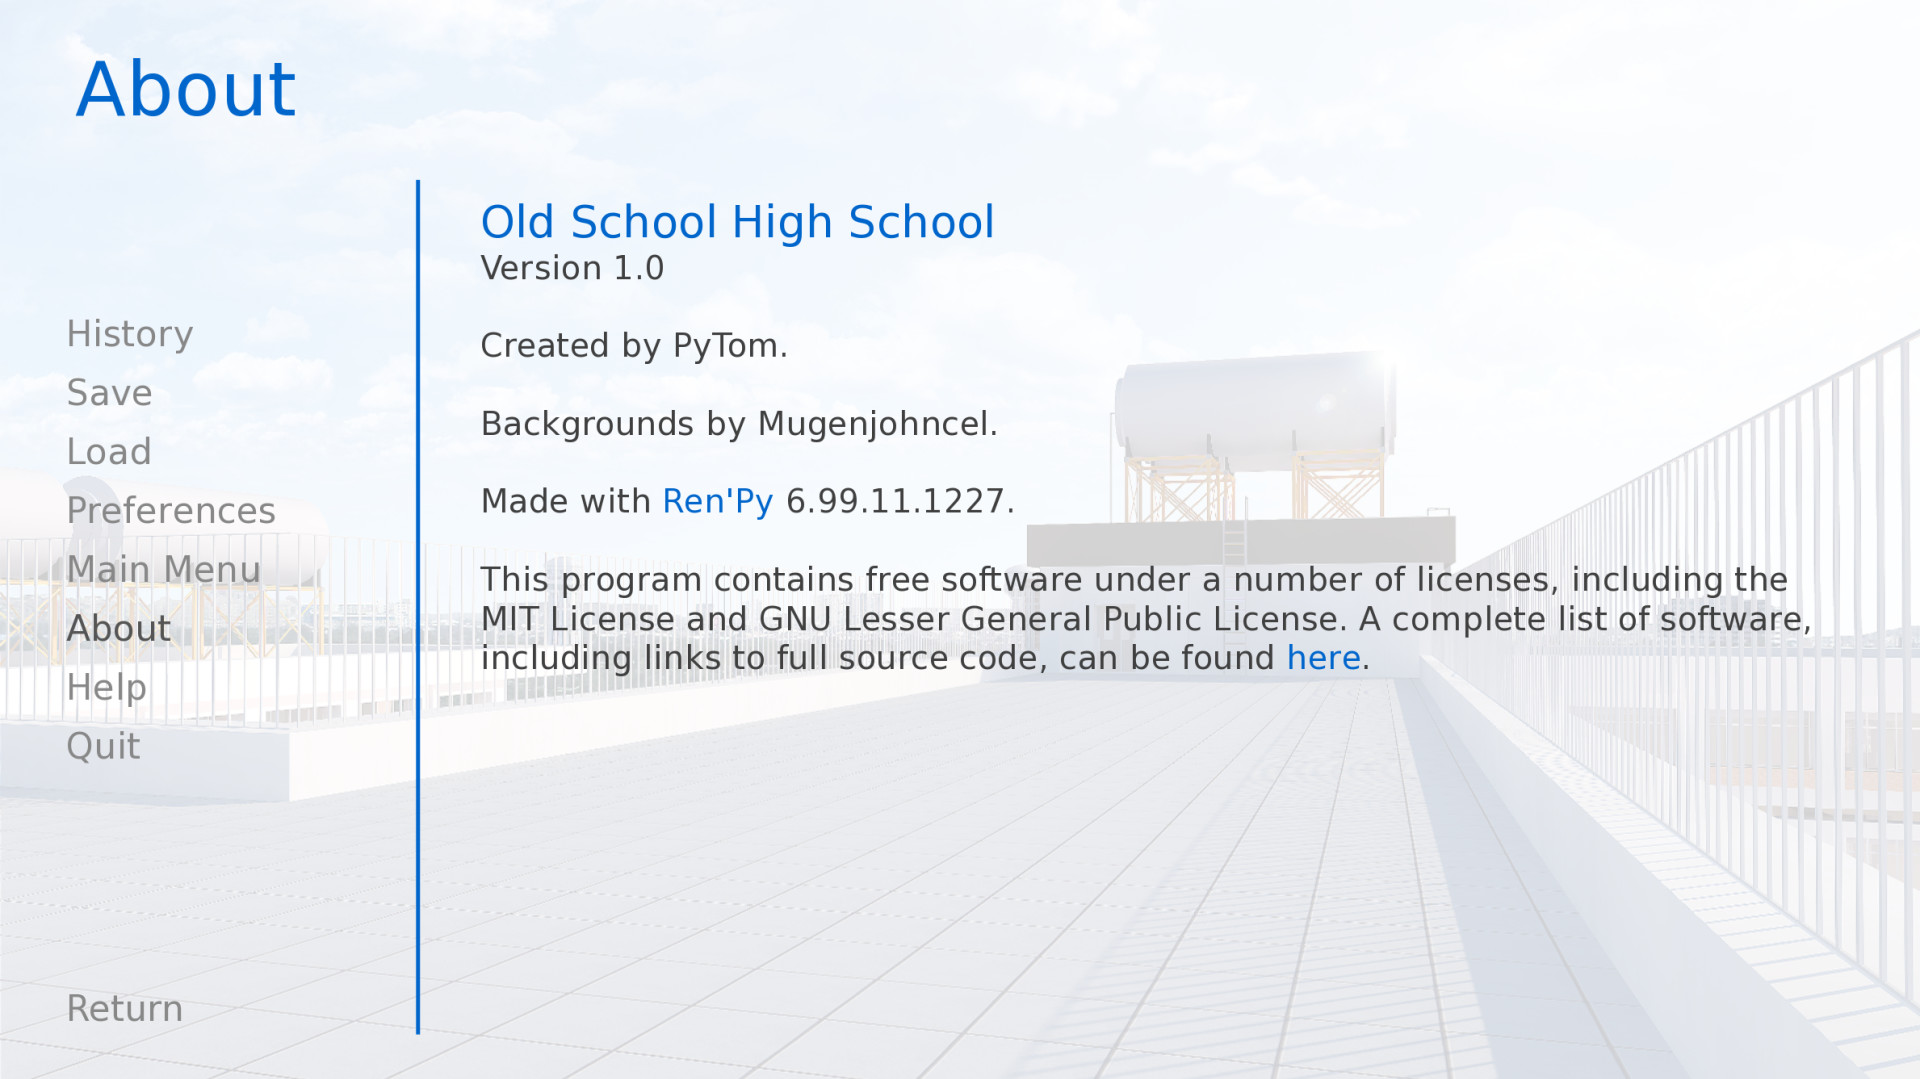
The about screen can be part of the game menu (using gui/game_menu.png as the background) or the main menu (using gui/main_menu.png as the background). Both can be set to the same image.
Window Icon link
The window icon is the icon that is displayed (in places like the Windows task bar and Macintosh dock) by a running application.
The window icon can be changed by replacing gui/window_icon.png.
Note that this only changes the icon used by the running game. To change the icon used by Windows .exe files and Macintosh applications, see the build documentation.
Advanced Customization link
More advanced customization is possible by customizing screens.rpy, up to and including deleting the entire contents of the file and replacing it with something of your own. Here are a few places to get started.
Styles link
Styles and style properties control how displayables are displayed. To find out what style a displayable is using, put the mouse over it and type Shift+I. This invokes the style inspector, which shows style names. Once the style name is known, a style statement can be used to customize it.
For example, say we've lost our minds writing GUI documentation, and want to add a bright red outline to the dialogue text. We can hover the text and press Shift+I to find out the style used is named say_dialogue. We can then add (to the end of screens.rpy, or somewhere in options.rpy) the style statement:
style say_dialogue : outlines [ ( 1 , "#f00" , 0 , 0 ) ] A huge number of customizations are possible using style statements.
Screens - Click to Continue link
A screen we expect to be commonly added is the click to continue screen. This is a screen that is shown when text finishes displaying. Here's a simple example:
screen ctc (): frame : at ctc_appear xalign . 99 yalign . 99 text _ ( "(click to continue)" ): size 18 transform ctc_appear : alpha 0.0 pause 5.0 linear 0.5 alpha 1.0 This particular ctc screen uses a transform to show the frame after 5 seconds. It's a good idea to delay CTC animations for several seconds, to give Ren'Py time to predict and load images.
Total GUI Replacement link
Advanced creators can replace some or all of screens.rpy in its entirely. When doing so, some or all of the contents of gui.rpy may become redundant. It's probably a good idea to call gui.init() to reset styles – but after that, a creator can do whatever they want. It usually makes sense to include some or all of the special screens, to make sure players can have access to all the functionality Ren'Py provides.
See Also link
For more information about the GUI, see the Advanced GUI section.
Incompatible GUI Changes link
As the GUI is changed, occasionally some of the variables change name. These changes only take effect when the GUI is regenerated – until then, the game will continue to use the old variable names in the new Ren'Py.
6.99.12.3 link
- gui.default_font -> gui.text_font
- gui.name_font -> gui.name_text_font
- gui.interface_font -> gui.interface_text_font
- gui.text_xpos -> gui.dialogue_xpos
- gui.text_ypos -> gui.dialogue_ypos
- gui.text_width -> gui.dialogue_width
- gui.text_xalign -> gui.dialogue_text_xalign
Source: https://www.renpy.org/doc/html/gui.html
0 Response to "Renpy Require a Click Before Continuing"
Post a Comment